



Walk into any camera shop and mention long exposure and you’ll leave with a shopping list. A full set of ND filters, a fancy holder system, a carbon fiber tripod, an intervalometer, maybe a lens or two you didn’t come in for. Most of it you won’t use for months, and a fair chunk you don’t need at all to make the silky-water, streaked-cloud shots that got you interested in the first place.
So let me cut through it. Long exposure is one of the cheapest creative techniques in photography to actually start with, because the two things that genuinely matter you probably half-own already and the expensive stuff is situational. What follows is the six things that actually move the needle, and along the way I’ll tell you which bits of the “essential kit” list you can quietly ignore until you’ve decided you even like doing this. It’s a good technique to learn cheap and at your own pace, and honestly the kind of thing you pick up faster by just doing than by reading about.
The Tripod Is The One Thing You Genuinely Cannot Fake
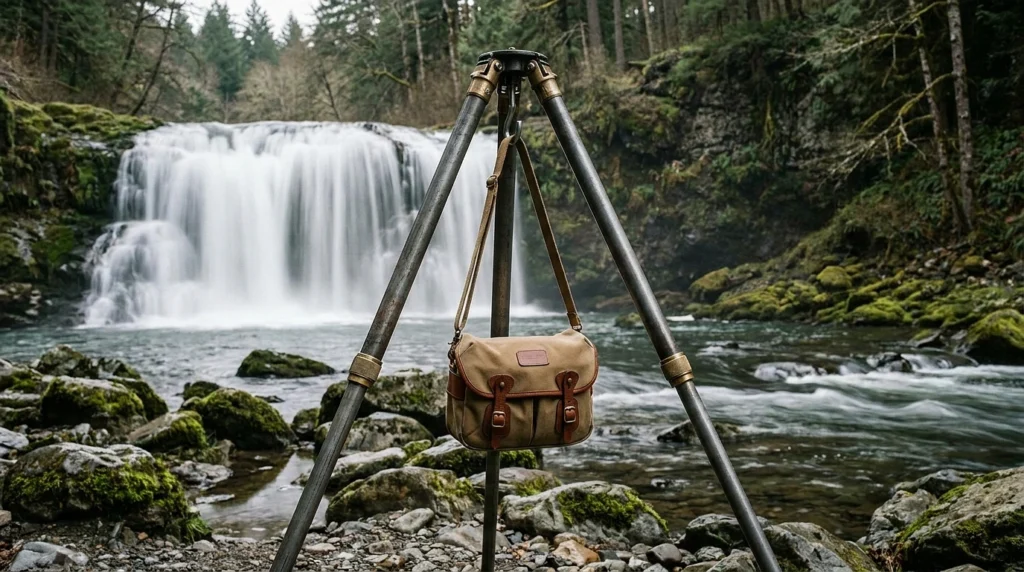
Start here because it’s the single non-negotiable, and it’s where the “you don’t need much” argument has its one real exception.
The whole technique rests on the sensor sitting dead still while the shutter’s open for seconds or minutes, soaking up light, so anything moving in the frame, water, clouds, traffic, blurs into that smooth flow you’re after, and anything that shouldn’t move, meaning your camera, has to be locked down solid or the whole frame goes soft and the shot’s gone. No in-body stabilization on earth holds a two-minute exposure sharp. That’s not what it’s for.
So a sturdy tripod is the real cost of entry. And notice I said sturdy, not expensive, because this is where beginners waste money in both directions. A flimsy travel tripod that folds down tiny is worse than useless in wind, it’ll wobble through your exposure and hand you a card full of blurry frames. But you also don’t need the thousand-dollar carbon fiber thing to shoot light trails off a bridge in town. A solid, heavy, unglamorous tripod does the job for years. One field trick that costs nothing: hang your camera bag off the center column to weigh it down low, and it settles the whole rig in a breeze.
You Need A Way To Fire The Shutter Without Touching It, And This Can Be Free
The second real essential, and it’s the one people skip and then wonder why their sharp-on-the-tripod shots came out soft anyway.
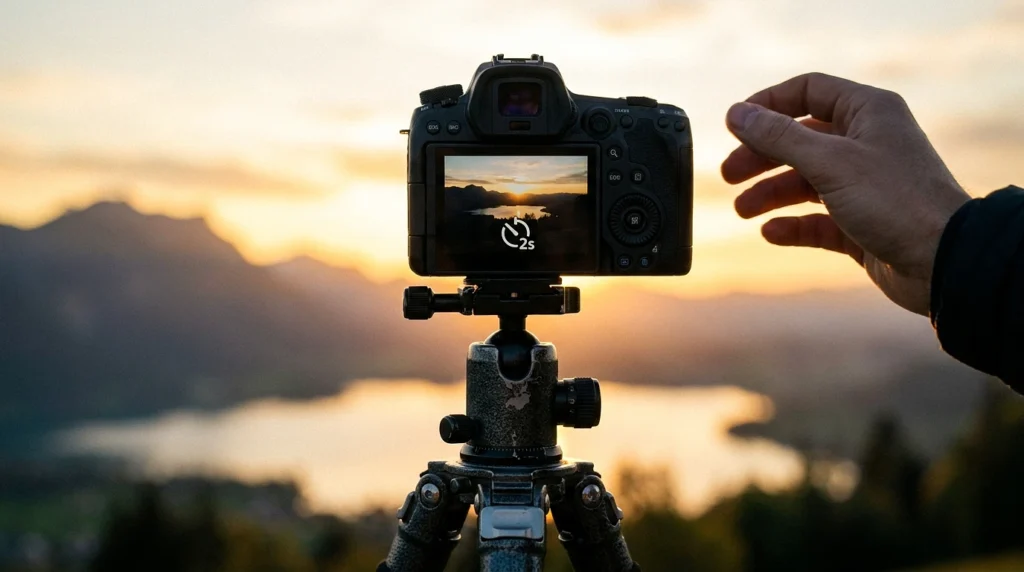
The problem is that jabbing the shutter button with your finger nudges the camera at the exact moment the exposure begins, and on a long shot that little shove smears the whole frame. So you trigger it without contact. A remote release or a phone app is the clean way and they’re cheap, but the bit the shop won’t lead with, because there’s no sale in it, is that your camera’s built-in two-second self-timer does the same job for free. Set the timer, press the button, take your hand off, and by the time the shutter actually opens the camera’s dead still again. You genuinely don’t need to buy anything for this on day one.
Bulb Mode Breaks Past The 30-Second Wall, And It’s Already In Your Camera
This is where a lot of the “you need special gear” mythology falls apart, because the key that unlocks proper long exposures isn’t a purchase, it’s a setting you already own.
Most cameras cap out at a 30-second shutter speed in the normal modes, and for a lot of long exposure work, dusk, night, moonlit scenes, thirty seconds is plenty. When you do want longer, you switch to Bulb mode, usually one click past 30 seconds on the dial, and now the shutter stays open exactly as long as you hold the release, whether that’s forty seconds or four minutes. Pair Bulb with that remote or a lockable cable release so you’re not standing there physically holding a button for three minutes, and you can shoot exposures as long as the light allows. No extra kit. Just a mode most beginners never touch.
The ND Filter Is The One “Essential” That’s Actually Optional
This is the gear the shop pushes hardest, and it’s genuinely useful, but it is not the day-one must-have they make it sound like, and knowing when you actually need it saves you real money.
An ND filter is a piece of dark glass, sunglasses for your lens, that cuts the light coming in without shifting the color. The reason it exists is simple, in bright daylight a multi-second exposure would blow the whole frame to white, so the filter knocks the light down enough that you can drag the shutter long even at noon. They’re rated in stops, and roughly speaking a 6-stop gets you into the one-to-four-second zone in decent light while a 10-stop is the one for long daytime exposures, cutting the light to a thousandth of what came in. The 6-stop is what most landscape shooters reach for most often.
But the part that never makes it into the sales pitch is that you don’t need an ND filter at all for low-light long exposure. Shooting at dusk, dawn, or at night by moonlight, there’s already so little light that you can hold the shutter open for thirty seconds with nothing on the front of the lens, and plenty of the classic milky-water and star-trail shots are taken with zero filters. So if you’re starting out and money’s tight, begin at the edges of the day, get the technique down with just your tripod and Bulb mode, and buy the ND later when you specifically want moving water in bright sun. And when you do buy, don’t grab the cheapest set going, because bargain ND glass throws a nasty color cast over everything that’s a pain to fix in editing. One decent filter beats a cheap set of five.
Scout The Scene And Lock Your Focus Before Anything Else
This one costs nothing and matters more than any filter, and it’s where the shots are really won or lost.
The technique only does something when there’s a mix of still and moving in the frame, water or clouds or traffic to blur, sitting against something solid to stay sharp. Point a long exposure at a scene with nothing moving and you’ve just taken a normal photo the slow, awkward way. So before you shoot, actually look at the scene and work out where the motion will read, pick your solid anchor, a rock, a pier, a skyline, and build the frame around that contrast.
Then the technical catch that trips up every beginner exactly once. Focus first, then lock it. Frame the shot, focus on your solid element with autofocus, then switch the lens to manual focus so it can’t refocus on you, because the moment you put a strong ND filter on, the camera’s looking through near-blackness and its autofocus will hunt around and fail, and if it grabs focus again mid-setup your whole shot’s soft. Focus, flick to manual, then add the filter. In that order, every time.
Test, Read The Histogram, Then Take The Real Shot
Last one, and it’s the discipline that separates keepers from a card full of near-misses.
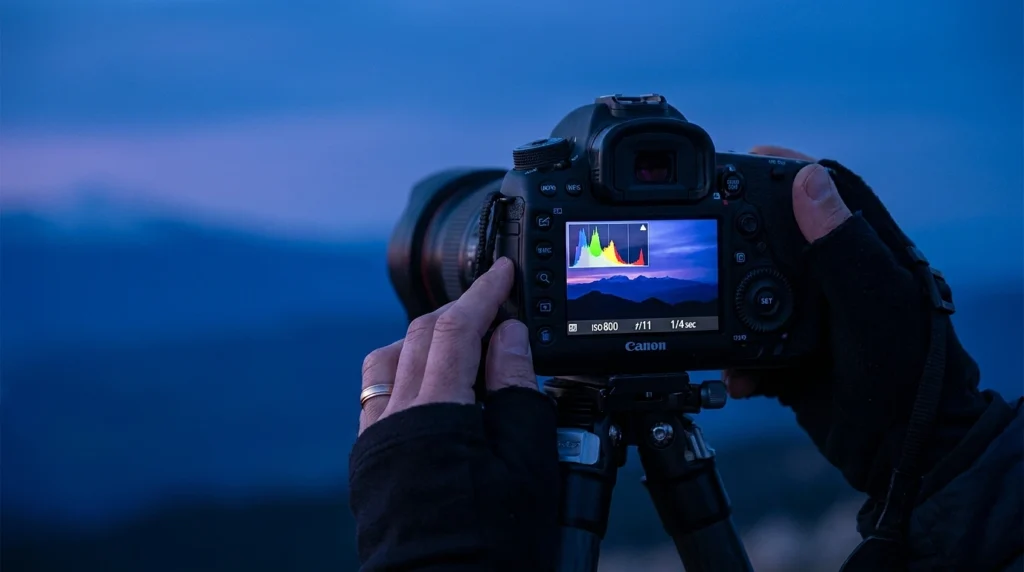
Don’t finalize the setup and immediately fire off your long exposure hoping it’s right. Take a normal test shot first, without the ND filter, in Manual or Aperture Priority, somewhere around f/8 to f/11 at your camera’s lowest native ISO, and get that exposure clean. Then you calculate the long shutter speed from there, adding the filter’s stops back in, and there are free phone apps that do this math for you so you’re not counting stops in your head in the cold. Check the result on the histogram rather than trusting how it looks on the screen, because the little screen lies in the dark. One more real-world gremlin, at dawn or dusk the light changes fast during your exposure, so a shot that metered perfectly can come out wrong two minutes later as the sun moves, which is why you take several and don’t trust the first.
That’s the whole thing. A steady tripod, some way to fire the shutter hands-free, Bulb mode, and a scene with real movement in it, and you’re making long exposures tonight for basically no money. The filters and holders and intervalometers are real tools that earn their place eventually, but they’re the second purchase, not the first, and anyone telling a rank beginner they need the full kit before they can start is selling gear, not teaching photography. Go shoot the blue hour with what you’ve got. Long exposure’s one of those things where you learn more in one evening of messing it up than in a week of reading, so get out there, and if it grabs you, you can always work through the finer stuff at your own pace once you know you’re hooked.