



Mode: Manual Aperture: as wide as the lens opens, f/2.8 or faster ISO: 3200 to start Shutter: 500 divided by your focal length. A 24mm lens gives you about 20 seconds Focus: manual, at infinity File: RAW
That is the Milky Way starting point, and it took eleven lines. Every paid beginner course teaches it too, usually somewhere in module one, which is worth knowing before you spend four hundred dollars.
The 500 Rule Gets You Close, And The Honest Version Is That It Is Approximate
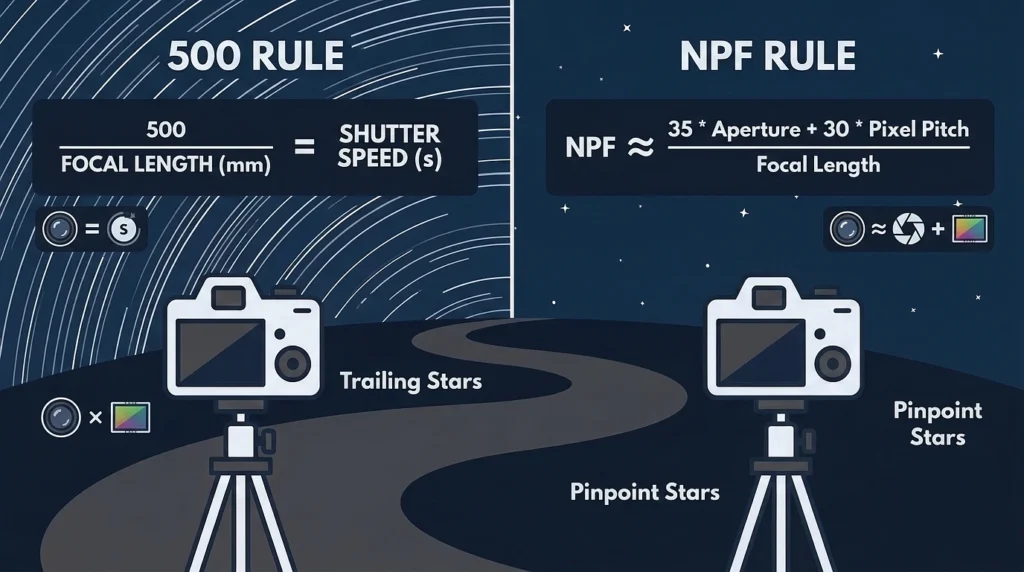
Divide 500 by your focal length and you get the longest exposure before the Earth’s rotation smears stars into short trails. A 50mm lens gives you 10 seconds, a 24mm gives you roughly 20, a 14mm gives you about 35. On a crop sensor, use the full frame equivalent focal length, so multiply by 1.5 for most APS-C bodies before dividing.
Now the part that separates people who read one blog post from people who have actually pixel peeped their own files. The 500 rule was built for film and older sensors, and on modern high megapixel cameras it is too generous. Follow it exactly on a 45 megapixel body and your stars will show visible elongation when you zoom in.
The better tool is the NPF rule, developed by Frédéric Michaud of the Société Astronomique du Havre, which accounts for sensor size, pixel density and aperture rather than focal length alone. Nobody calculates it by hand in the dark. PhotoPills has it built into its Spot Stars calculator, and there are free calculators online too.
So the free tier of knowledge already contains both the rule of thumb and its correction. That is a fairly complete technical education for about ninety minutes of reading.
Here is what nobody hands you for free, though.
What A Course Or Workshop Genuinely Adds, Stripped Of The Marketing
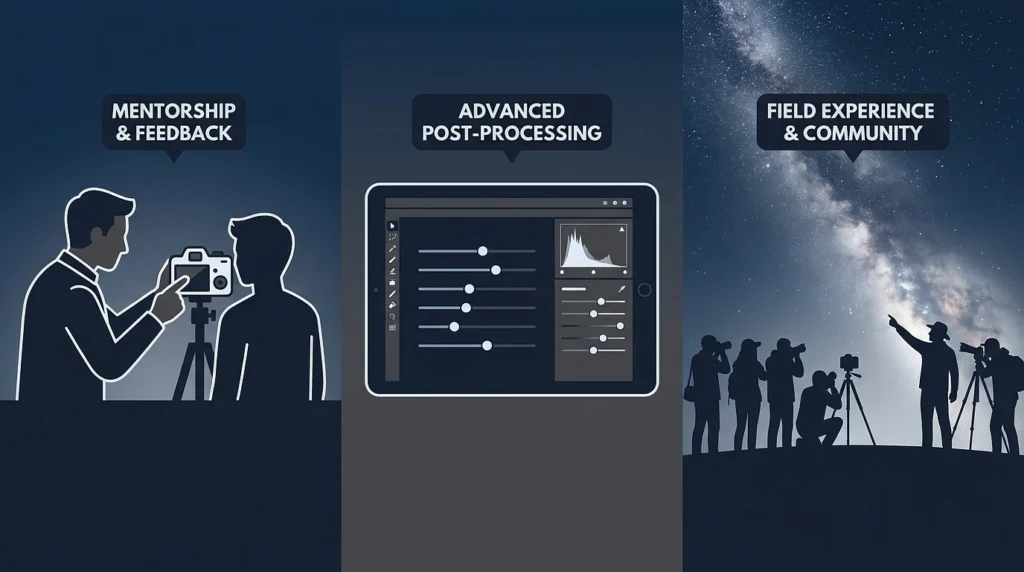
Three things, and only one of them is information.
The first is feedback on your own files. Reading that coma distorts stars at the edges of a fast lens wide open is different from someone looking at your photo and telling you that is what happened, and that stopping down two thirds of a stop fixes it. Nobody diagnoses your specific mistakes from a blog post.
The second is post processing, which is the genuinely hard part of night photography and the part most free tutorials handle badly. Stacking exposures for noise reduction, blending a foreground exposure with a sky exposure, handling colour balance under light pollution, star trail compositing. This is where beginners plateau, and it is why some instructors charge separately for it, commonly around $100 an hour for one on one editing time.
The third is location and logistics. A workshop puts you in a dark sky site at the right time of year with someone who knows the compositions, which solves the two problems that actually stop beginners: not knowing where to go and not wanting to stand in a field alone at 2am.
What Does That Cost In Practice?
Real prices span a wide range. A single night regional workshop runs around $375 to $400, while multi day trips in destination locations reach $1,750 and up before tax. Online courses sit far below that, and the good ones are genuinely useful for editing workflow.
Where The Money Is Better Spent, In Strict Order
If your budget is a few hundred dollars and you are choosing between a workshop and gear, buy in this order. The list is unromantic and it is correct.
- A sturdy tripod comes first, and this is the one people get wrong most often. Every night photography is a long exposure, a camera that moves produces a soft frame regardless of settings, and pocket or desktop tripods are unusable for this. Entry aluminium models start around $40 to $60, and instructors specify chest height and genuine stability rather than the cheapest thing that stands up.
- A fast wide lens comes second. Aperture is light, and light is the entire constraint at night. Budget options are better than people assume, with a Canon 24mm f/2.8 STM around $130, a Nikon 35mm f/1.8G near $170, and a Rokinon 24mm f/1.4 around $400. Any of those beats a kit zoom at f/3.5 by a wide margin.
- A remote shutter or intervalometer is third, cheap, and mandatory rather than optional once you shoot longer than 30 seconds, since most cameras will not expose beyond that without one.
- The camera body comes last. A used DSLR at $200 to $400 shooting RAW will produce good night images. Sensor improvements are real, and they matter far less than the three items above.
And then the item that outperforms all of it.
Petrol money. Driving two hours to a genuinely dark site improves your photographs more than any equipment upgrade or any course, because light pollution is a hard ceiling that no technique lifts. A mediocre camera under a dark sky beats an expensive one under an orange one, every single night. The free light pollution maps that show you where to drive are the highest value resource in this entire article.
The Sequence I Would Actually Follow
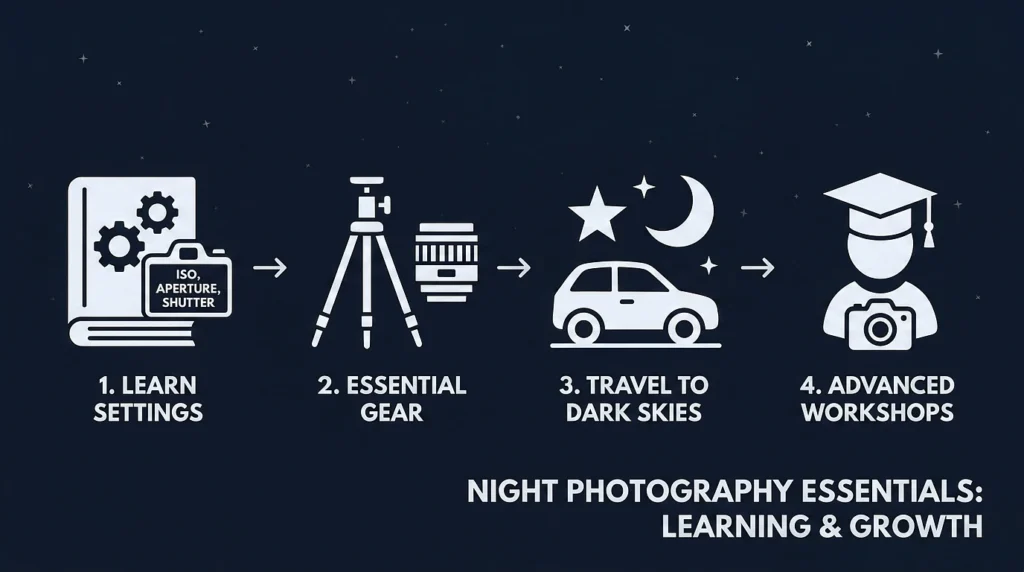
Learn the settings free, since they take an evening. Buy the tripod and a fast lens. Drive somewhere dark, three or four times, and shoot badly, because the focusing in darkness and the composition in darkness are physical skills that only come from repetition and no amount of reading substitutes for them.
Then, once you have a folder of your own imperfect files and a specific list of things that went wrong, consider paying someone. A workshop or a course at that point is worth several times what it would have been worth before, because you arrive with real questions instead of general curiosity, and because the instructor can look at your actual failures rather than teaching you a rule you could have got from a calculator.
Most people do this backwards. They buy the instruction first, learn things they could have read, and then discover their tripod wobbles.