

Snapseed has a strange reputation. Google built it, then basically stopped touching it around 2021, and yet it still embarrasses most photo apps that ship monthly updates and charge £4.99 a month for the privilege. There’s no subscription, no watermark, no account, and no upsell screen between you and your photo. That alone makes it worth learning properly instead of poking at it once and going back to Instagram filters.
The problem is that most people open Snapseed, tap “Looks,” pick something called Portrait or Pop, and leave. That’s like buying a DSLR and never taking it off auto. The real app lives inside the Tools tab, and three or four of those tools do almost all the work.
Start With Tune Image, But Not The Way You Think
Tune Image is where every edit should begin, and the interface trips people up because there are no visible sliders. Swipe up or down on the photo to pick a parameter Brightness, Contrast, Saturation, Ambiance, Highlights, Shadows, Warmth then swipe left or right to adjust it. Once that gesture clicks, editing gets fast in a way tap-and-drag apps never manage.
Two Habits Worth Stealing:
Pull Highlights down before touching Brightness. Phone cameras clip skies constantly, and dragging highlights to around 40 or 50 recovers cloud detail that Brightness would just blow out further. Then lift Shadows by +20 to +30 instead of raising overall exposure. You end up with a balanced frame instead of a washed one.
Ambiance is the sneaky one. It’s a mix of local contrast and saturation that nothing else in the app replicates. Around +15 to +25 gives photos that “edited but I can’t tell how” quality. Push it past +50 and everything goes into HDR-poster territory fine for a dramatic mosque shot at golden hour, ugly on a face.
Selective Is The Tool That Separates Snapseed From Everything Else
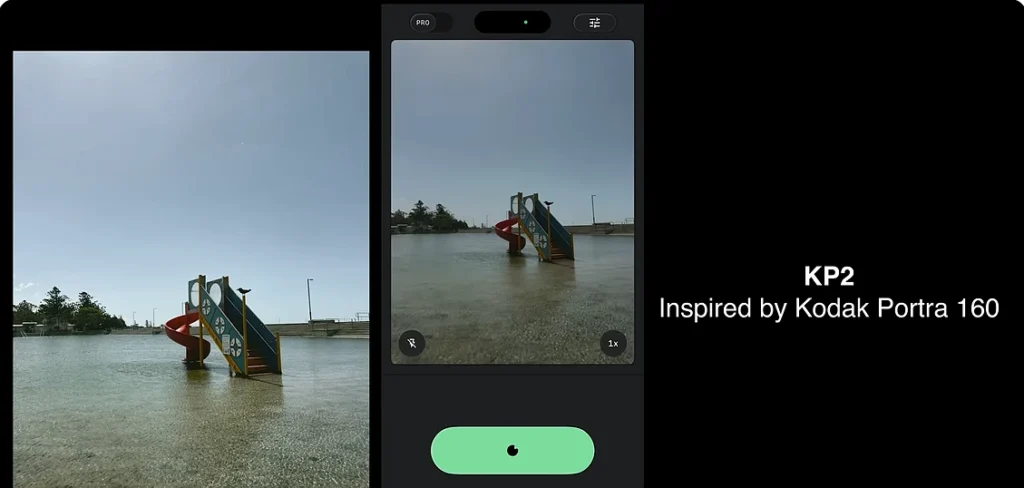
This is the feature that free apps still haven’t matched. Tap Tools → Selective, then tap anywhere on the photo to drop a control point. Pinch outward and Snapseed shows a red mask that’s the area the point affects, and it’s smart enough to follow colour and edges rather than just drawing a circle.
Each point controls four things (swipe up/down to switch between them): Brightness, Contrast, Saturation, and Structure. The classic use case: a photo where the person is dark against a bright background. Drop a point on the face, brighten it +30, drop another on the sky, pull it down 20. Done in fifteen seconds, and it looks like you shot it with a reflector.
You can place up to eight points per photo. Long-press a point to copy it, tap-and-hold elsewhere to paste. Nobody discovers that by accident.
Healing: Good Enough For Wires, Useless For Faces
Manage expectations here. The Healing tool removes power lines, litter, a stray pigeon, the random guy walking into your frame at the edge. Zoom in first pinch in hard then paint over the object in one short stroke. Short strokes on zoomed-in areas work; long lazy swipes across half the image produce smeared garbage.
What it won’t do is retouch skin or remove anything overlapping a complex pattern. If someone’s standing in front of a brick wall, the bricks will warp. Know its limits and it saves you a trip to a desktop editor. Ignore them and you’ll conclude the tool is broken. It isn’t; it’s just from 2015.
Curves, If You Only Learn One “Advanced” Tool
Curves scares people because it looks like maths homework. Here’s the entire trick: drag the bottom-left point of the line slightly up and to the right. That’s it that’s the faded, matte, film-ish look every preset pack sells for money. Lifting the blacks, in editing language.
Second trick: tap the channel icon and switch to Blue. Pull the top of the blue curve down a touch and the highlights go warm; lift the bottom and shadows go teal. Congratulations, you’ve just made the orange-and-teal grade that dominates Instagram, manually, for free.
The Workflow Features Nobody Talks About
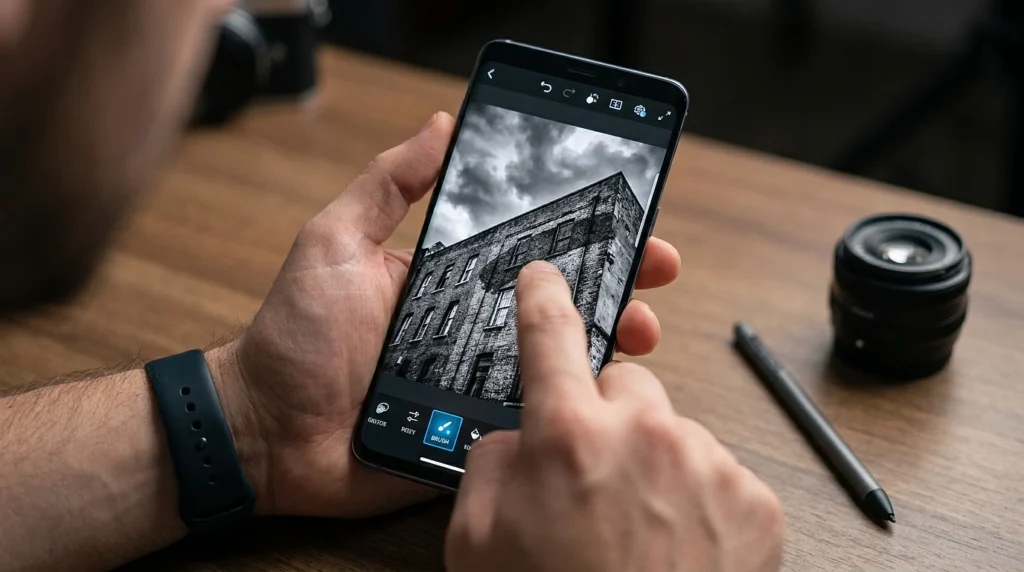
- Edit stacks. Every edit in Snapseed is non-destructive. Tap the layered-square icon (top right) → View edits, and you get your entire edit history as a stack. You can go back and change the Tune Image values you set five steps ago without redoing anything after it. You can even tap the brush icon on any step and paint the effect in or out selectively apply that Structure boost only to the building, not the sky. This is the closest thing to Photoshop layers on a phone, and it’s buried under an unlabelled icon.
- Last Edits / copy-paste edits. After finishing one photo, open the next, tap the stack icon → Last Edits, and the whole recipe applies instantly. Editing thirty photos from the same event stops being a chore. You can also save your own recipe as a custom Look and it appears alongside Google’s presets forever.
- QR Looks. Under the same menu, “QR Look” generates a scannable code of your edit recipe. Share it with anyone and they can apply your exact grade to their photos. Photography groups traded these for years; most current users have no idea it exists.
- RAW support. Snapseed opens DNG files. If your phone’s pro/manual camera mode shoots RAW, Snapseed gives you a dedicated Develop tool with far more recovery latitude than JPEG editing. Shadows you thought were pure black come back with detail. This is a genuinely rare feature in a free mobile app.
Export Settings, Because Snapseed Will Quietly Ruin Your Quality If You Let It
Go to the three-dot menu → Settings → Format and quality and set it to JPG 100%. Out of the box it exports at 95%, and if you leave “resize” on anything but Do not resize, it’ll downscale your images without asking. Also note the difference on the export screen: Save keeps the edit stack reversible in-app, Export writes a new copy, and Export as lets you choose the folder. Use Export overwriting originals is how you lose the photo you actually wanted back.
A Realistic Five-Minute Edit, Start To Finish
- Open the photo, Tune Image: Highlights 40, Shadows +25, Ambiance +20, Warmth to taste (+10 for golden hour, −10 for moody).
- Selective: one point on the subject, Brightness +20; one on any distracting bright spot, Brightness 25.
- Details: Structure +10 maximum. This slider is where every over-edited phone photo goes wrong past +25, edges get crunchy halos.
- Healing: kill the wires or the bin in the corner.
- Crop to 4:5 if it’s going on Instagram, since the platform crops 3:4 and wider images down anyway.
- Export at 100%.
That routine covers ninety percent of everyday photos. The remaining ten percent double exposures, the Drama and Grunge filters, the frankly bizarre “Retrolux” scratches are in there when you want to play, but they’re seasoning, not the meal.
Is An Abandoned App Still Worth It In 2026?
Yes, with one caveat. Google hasn’t shipped a meaningful update in years, so there’s no AI object removal, no generative fill, no sky replacement. If you want those, Lightroom Mobile’s free tier or your phone’s built-in Magic Eraser-style tool fills the gap. But for the core job making a decent photo look properly finished in under five minutes, offline, with no subscription nag nothing on either app store beats Snapseed’s combination of Selective points, edit stacks, and a price of zero.
Learn the swipe gestures, live in Tools instead of Looks, and set export quality to 100 before you edit a single frame. That’s the whole secret to getting snappy with it.